
Restoration of a Millers Falls Boring Machine - Part 3
The finished project
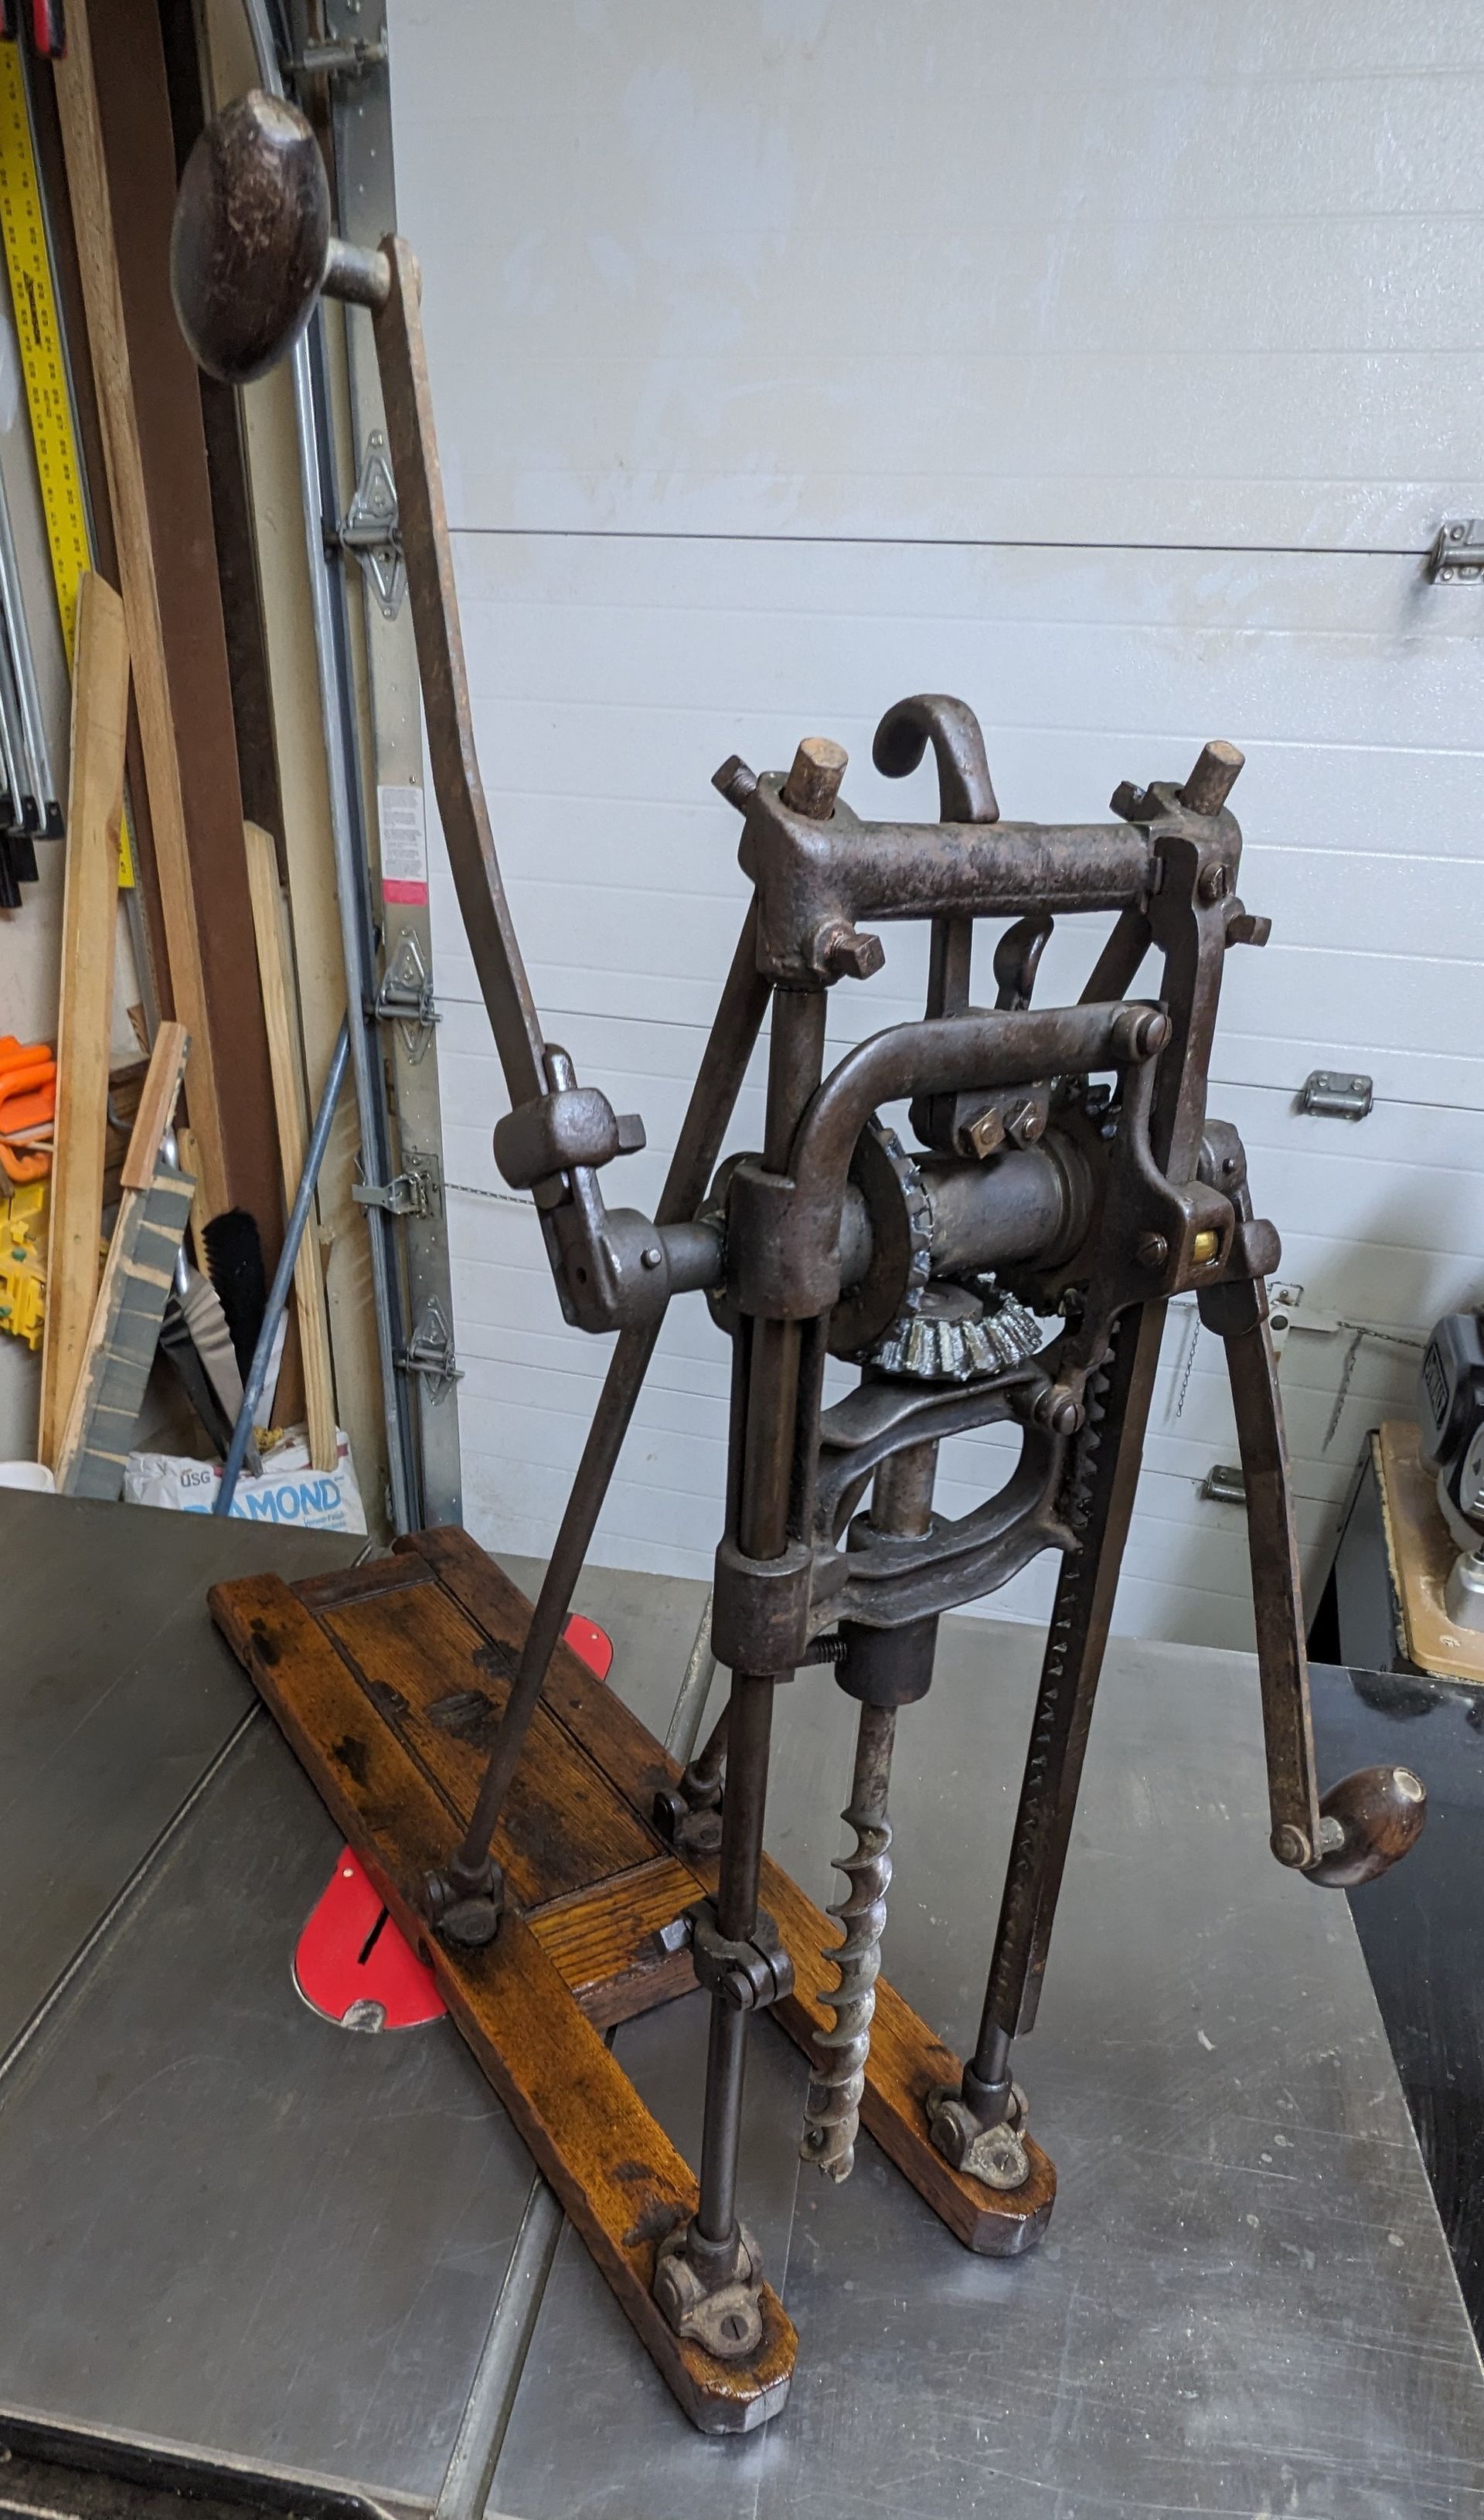
Figure 9 shows the finished boring machine. Its use in an immediate project will validate whether it’s suitable for use, although a few test holes indicate that it is in good working order. At some point soon, the author foresees that he will disassemble the boring machine and apply fresh paint to so that all surfaces are protected from rust. In the process, all existing rust will be removed with EVAPO-RUST. An online video in the podcast series, Hand Tool Rescue, recommends these products for a fresh paint job:¹
- Rust-Oleum Filler Primer
- Krylon Farm and Machinery Low Gloss Enamel
The author has also had good outcomes with Rust-Oleum Self-Etching Primer, which might be used prior to the filler primer.
Exceptions to the Process
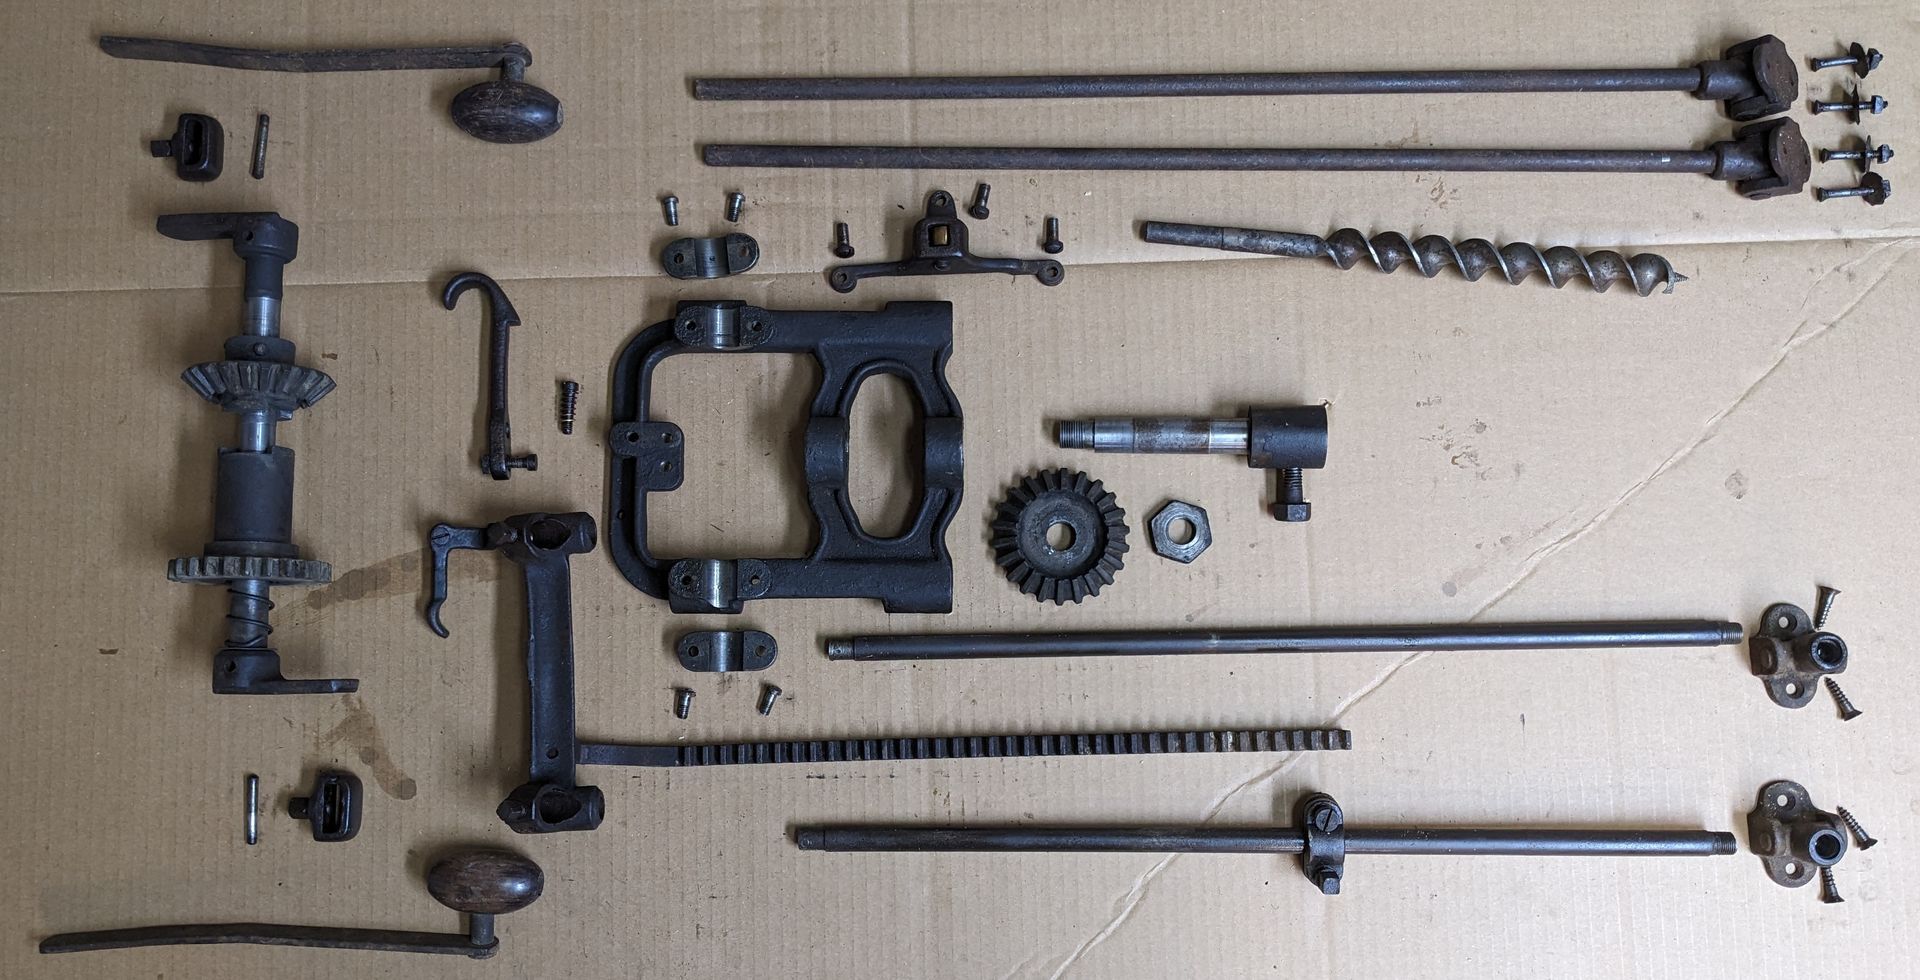
The horizontal drive shaft could not be disassembled in a timely manner due to the crank arms being rusted onto the shaft. This assembly needed to be cleaned as an assembly as a result. The author did not want to use Simple Green to degrease this assembly because it requires a water rinse. While heat guns could have been used to dry the assembly to avoid rusting, an alternative cleaner was used that evaporated and did not promote rust, namely Valvoline Carb & Throttle Body Cleaner. This product may not be paint safe, but that was the cost of avoiding rust.
The drill bit had no painted surfaces and so preserving the finish was not an issue. In this case, the author used EVAPO-RUST to remove the rust, followed by both brass and steel wire brushes as well as a wire wheel brush driven by a hand motor. EVAPO-RUST was used also on the screws and bolts that secure the boring mechanism to the base.
Other Repairs
The threads on the set screw for the drill bit were damaged as were the threads in the drill chuck. A 7/16”-14 tap was run through the chuck threads to clean them up and a new square head set screw was purchased at the hardware store. Four other square head set screws are used to secure the support rods: two 3/8”-16 set screws secure the diagonal support rods and two 5/16”-18 set screws secure the perpendicular rods. The threads in the holes that receive the 3/8” set screws were also chased with a tap and replacement set screws were procured.
Drill bits
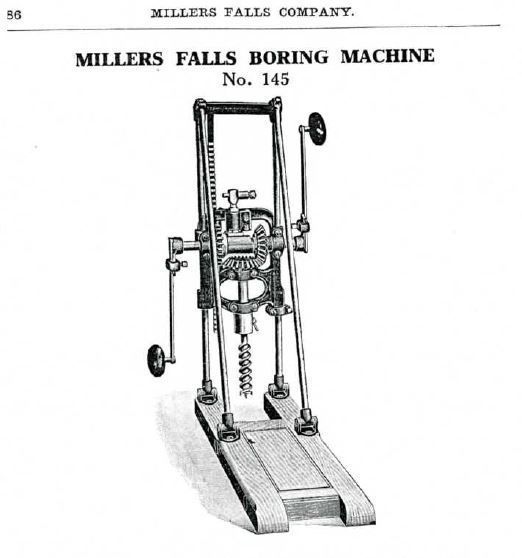
Millers Falls boring machines use drill bits with a ½” shank. The author’s experience is that these can be difficult to find, either old or new. The machine came with a 1” bit but the author wanted a 1-1/2” bit for mortises of 1-1/2” and 2” mortises. The author found a supplier of 12” long, 1-1/2” diameter bits with ½” shanks, Jim Rogers (jrsawmill@verizon.net), who modifies standard Wood Owl Ultra Smooth bits by welding on a ½” shank. The author has such a bit, and it performed well on the few holes he has drilled with it. Timbertools.com is another source for bits (https://www.timbertools.com/HolzMaster-Double-Cut-Auger-Bits/) and they are the preferred supplier of the Heartwood School. These come from the factory with a shank that fits Millers Falls boring machines.
Tools & Materials
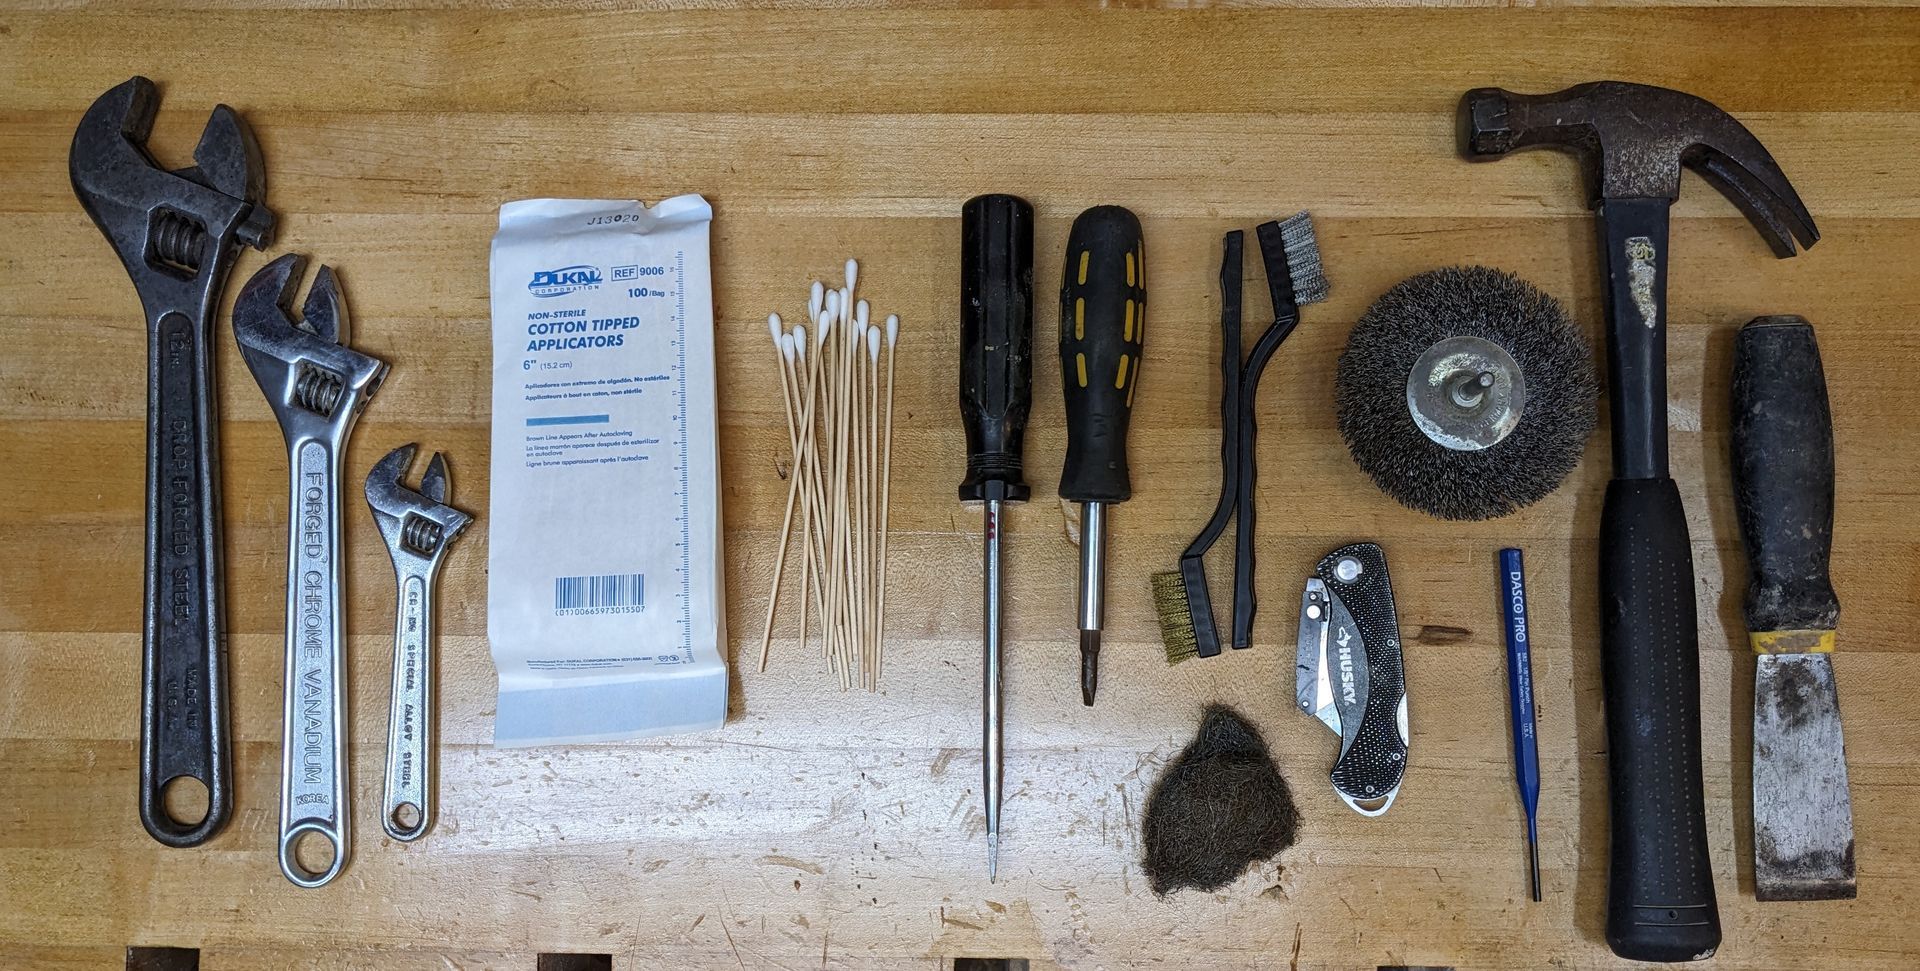
Tools
- Adjustable (Crescent) Wrenches
- Auger Bit File (not pictured)
- Cotton applicators (long)
- Punch (3/16”)
- Putty Knife
- Screwdrivers
- Steel Wool
- Wire Brush (Brass)
- Wire Brush (Steel)
- Wire Wheel
Cotton applicators are effective on holes for absorbing moisture, cleaning them, and applying lubricants. Multiple adjustable wrenches are shown in Figure 10, the medium and smaller wrenches being for the numerous square head machine screws. Although it was not that effective, the larger wrench was used on the approximately 1-5/16” diameter nut that secures the gear at the top of the boring shaft. The nut is recessed, which makes it difficult for this type of wrench to supply acceptable torque when the nut is being tightened. A socket would be perfect here, but the author did not procure one, in part because the size of the nut was uncertain, perhaps due to paint on its surface.
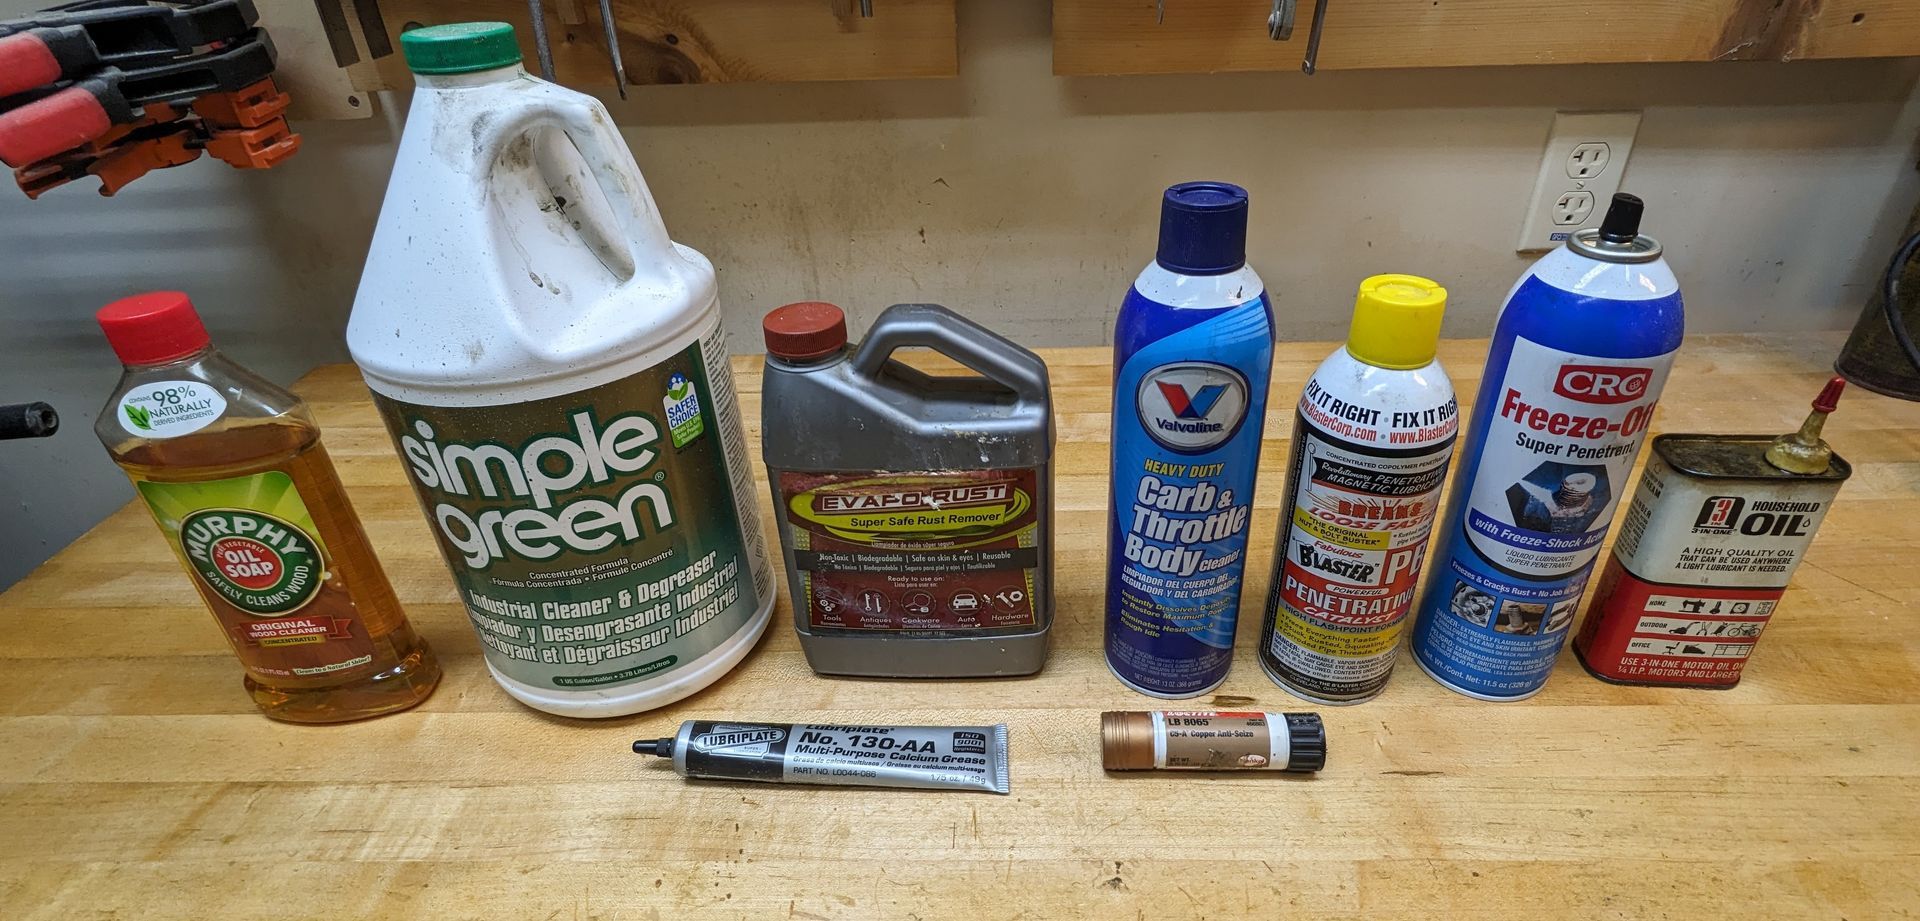
Materials
- EVAPO-RUST
- Freeze Off
- Loctite 466863 Paste Anti-Seize Lubricant
- Lubriplate No. 130-AA Calcium Grease
- Murphy’s Oil Soap
- PB Blaster
- Simple Green (Degreaser and Cleaner)
- Valvoline Heavy Duty Carb & Throttle Body Cleaner
- Wood Finish (equal parts Turpentine, Boiled Linseed Oil, and Spar Varnish)
- Antique Beam Drill [Restoration],
https://www.youtube.com/watch?v=Ia_U4dKsZK0, see video starting at 10:37.
If you have any inquiries or comments, you can contact the author at jrbrad314159@gmail.com
If you are interested in using historic tools, come learn to use a boring machine and more with us! Our Timber Framing courses focus on traditional methods using high quality historic and modern tools.
share this
Related Articles
Related Articles